Custom molds are essential in numerous industries for a wide range of applications. When designing a mold, it’s important to partner with a company that listens to your specifications and understands your requirements. The process is collaborative, and your input is key to ensuring the final mold accurately represents your concept. Here’s a breakdown of the important steps involved in designing a custom mold. For all of your custom molds needs contact Preferred Tool, located in Hugo, Minnesota serving the entire Twin Cities area.
Step 1: Understand Your Tooling Requirements
Before diving into production, it’s essential to have a clear understanding of your tooling needs. This will allow the manufacturer to provide you with an accurate quote for the mold. Once you’ve reviewed the pricing, you can decide whether to move forward with the project. If the cost is higher than expected, it may be worth considering other providers who can offer similar molds at a more affordable price.
Step 2: Design Review with CAD Software
If you accept the quote, the next step involves your design being reviewed by CAD (Computer-Aided Design) specialists. Modern CAD software enables designers to create a highly detailed and precise digital version of your mold. It’s crucial that you carefully review each aspect of the design. Once the design is finalized and approved, it will be sent to the manufacturing department. Any changes after this stage will be challenging, so take your time during this review phase. To ensure accuracy, the designers may arrange a live design review, where you can discuss the 3D model and provide feedback in real-time.
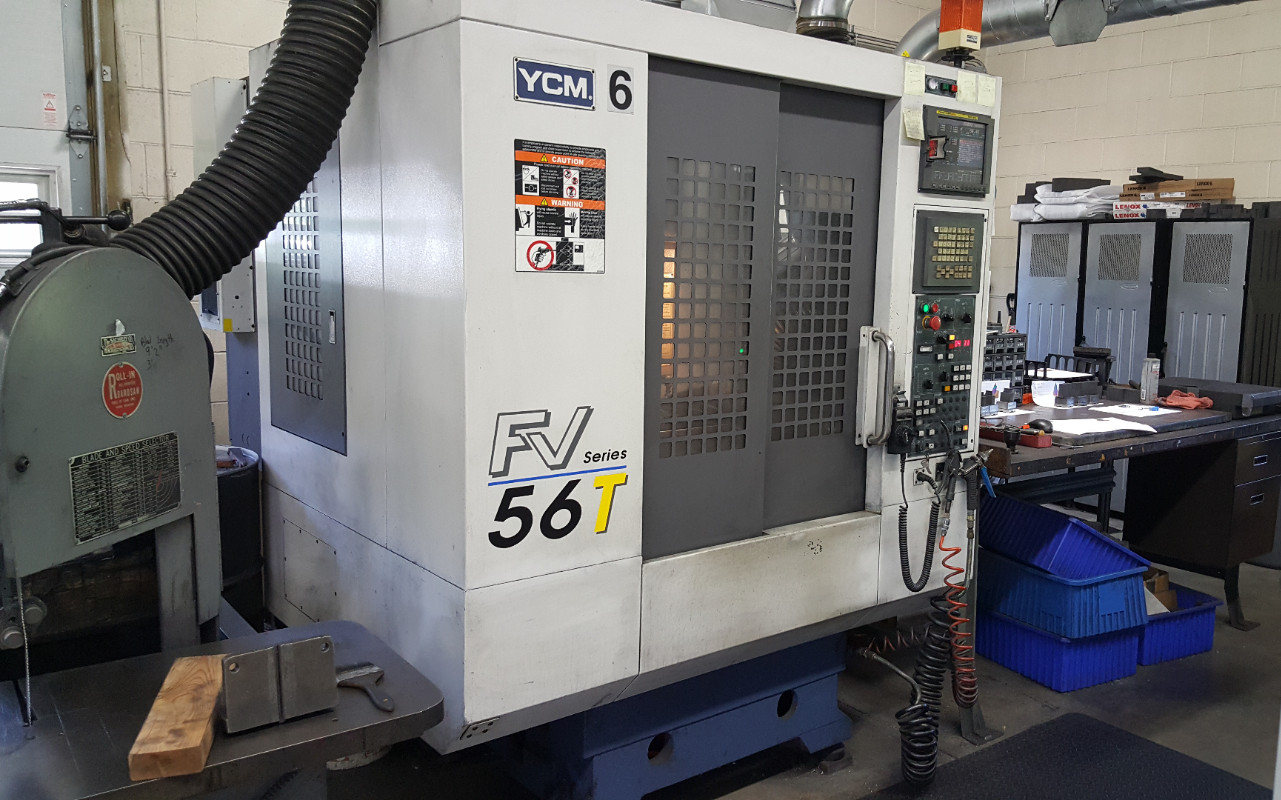
Step 3: Production of the Mold
Once the design is approved, the manufacturing process begins. At this stage, you will not be as involved in the process, but rest assured that the experts are working diligently. They will pay close attention to every detail and perform any necessary touch-ups to ensure that the mold closely matches the design you’ve approved.
Step 4: Final Checks and Delivery
After the mold is produced, manufacturers will ensure it meets all of the agreed-upon specifications. This includes checking that the mold matches the approved design from Step 2 and meets any other technical requirements. Once everything is aligned, your custom mold will be ready for delivery.
Why the Process Matters
This detailed process ensures that you are kept informed and involved every step of the way. Unlike some companies that may simply take your concept and start production, we at Preferred Tool prioritize collaboration. We will review the design with you to make sure that it’s exactly what you need before we begin the manufacturing process. This approach minimizes the risk of costly mistakes and design revisions.
At Preferred Tool located in Hugo, MN, customer satisfaction is our top priority. We ensure that your needs are fully understood and met by going through each step together. If you’re looking for a custom mold, don’t hesitate to contact us. Call us today to discuss your project. Let us bring your idea to life with precision and care!